This is the second post in a serries on reverse engineering Pools of Darkness.
The first is here, and I’ll add links to the later posts as we go.
Also note this post, the previous post and next posts can be skipped by using unp (unprotect)
Now loading dump.bin into IDA
This process is very messy…
Points to remember from the dumping, the memory base address was 0xba1, the first chunk of code moved the base segment to 0xbb1, after the descrambler the code jumps to 0xbb1:2
Open IDA, and start a new project, select dump.bin, at the loading screen set the loading segment to 0xba1. Press ok.
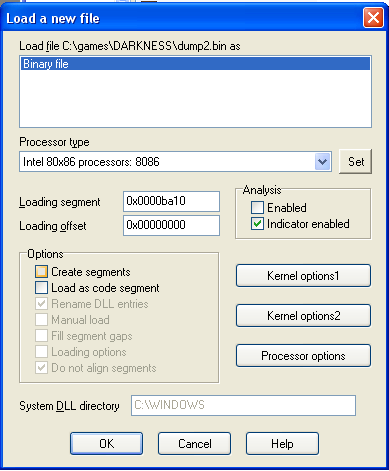
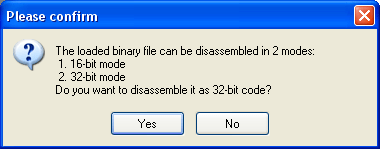
When asked if you want 32bit or 16bit choose 16bit.
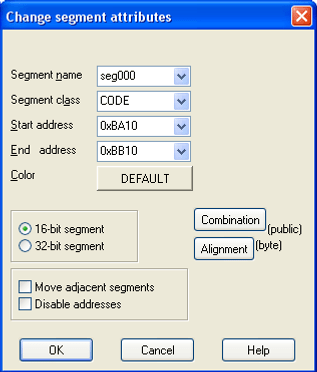
Edit the first segment (Edit -> Segments -> Edit Segments) and change the End address to 0xbb10 and unselect ‘Move adjacent segments’
Create a new segment (Edit -> Segments -> Create Segments) seg001, Start address 0xbb10, End Address 0x3ba10, Base 0xbb1, 16bit, OK
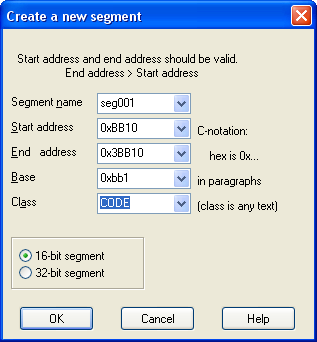
I’m using the free version of IDA Pro and it has a create segment bug, where the segment is 32bit even though marked it 16bit. So edit like we did for seg000
Now we can jump to seg001:0002 and press C to say this is code, as this is the Pascal __SystemInit function. We can see that it makes lots of calls to address that are not correctly decoded.
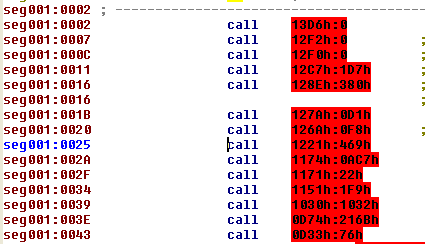
Long story short, these are each segment’s init function, and they run from seg001:0002 to seg001:0101

These actually provide mapping of the segments of the game, so we that seg001 must end at 0xBE1 as that’s the next segment, which ends at 0xBEE, so we could hand create these segments or we could write a IDA script (.idc) to do the work for us.
Select the text area (seg001:0002 to seg001:0101), copy the contents to Visual Studio run this Replace Regex
^seg001\\::h:h:h:h:b+call:b+(far:bptr:b)*{:h+}h\\:.*$
to:
SegCreate(0x\\10, 0x\\10, 0x\\1, 0, 1, 2);\\nSegRename(0x\\10, "seg000");\\nSegClass(0x\\10, "CODE");
To build the idc code to build the segment tables.
There is a bug in IDA Freeware Version 4.9 in which the first segment you create ignores the 16bit/32bit setting you chose, in our script above this can be fixed by adding
SegAddrng(0x13D60,0);
IDA gives you the ability to export your work as a IDC file so we will do this, via (File -> Produce File -> Dump database to IDC file)
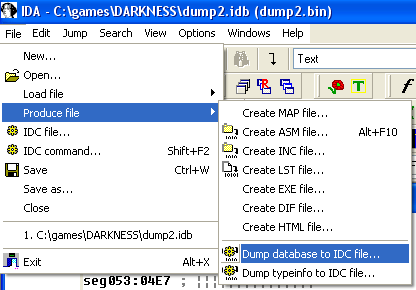
Giving us darkness-0.idc, we can now merge our segment creating code from Visual Studio, to give us darkness-1.idc
Now we can run this script to back to our current state. As we progress it’s a good idea to ether hand edit your idc file and rerun that to check you have all of your edits, and if you do major work via the UI, export a new IDC file, very much like save games for RPGs you can never have too many saves. Heck even version control might be a good idea…
Now when we run this script on our loaded dump.bin, we get some of the initial segments setup.
The stack and the data segment are not correct, if we turn seg001:02 to code, we see those initial setup functions.
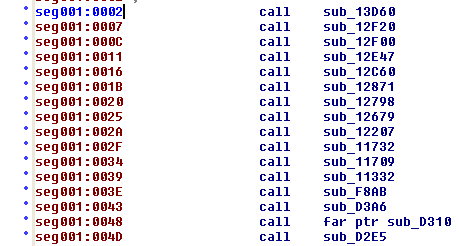
If we follow the first call (sub_13D60) we get to the seg053 init code.

The first instruction sets DS to 0x1598, which we will see elsewhere. If we look in the segment window, the last segment seg053 starts at 0x13D6 so a long story short, this is the start address of the data segment. A very useful piece of information
So we update our script. Adding a new segment called data at 0x1598h
SegCreate(0x15980, 0x3BA20, 0x1598, 0, 1, 2);
SegRename(0x15980, "Data");
SegClass(0x15980, "DATA");
SegAddrng(0x15980,0);
And to avoid having to press C (code) at seg001:0002 again we can add that command like this:
MakeCode(0XBB12);
thus giving darkness-2.idc
At this point you can explore the code, and start to get an idea of how it works. You can name functions (n) or make bits of assembly into functions (p) jump around the code, but we’ll not do that just get, because as you will discover most the code is missing.
To show this go back to the seg001 init call block (seg001:48)

and follow the call to sub_d310
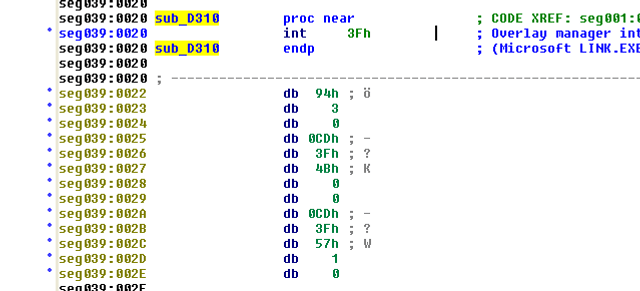
The int 13h calls the overlay handler, which loads the actual code block into an different location in memory, then it rewrites this segment (seg039) so each function location (stub) jumps to the overlay code. Any calls to seg039 functions are then redirected with no extra over head. If the current loaded overlay changes (due to call into another segment) then seg039 gets rewritten back to how it was, and the new segment get mapped.
The actual code that sets up the overlay manager is one of the first segments called in the init call block, and I may point out later, but for now we have to load all missing code by hand, and rewrite the existing code to we can follow what’s happening, and that will make a exciting next post…
